How to Choose the Right Water Line Coupler for Your Needs
A water line can look simple until a connection begins to drip behind a cabinet or beneath a sink. Choosing the right Water Line Coupler helps prevent that frustration, but the correct option depends on more than pipe size. Material, connection style, operating pressure, water temperature, and installation conditions all matter. A coupler that fits physically may still be unsuitable for the system.
Start by identifying the pipe material and measuring its outside diameter accurately. Copper, PEX, PVC, and other lines may require different fittings or transition couplers. Check whether the connection needs compression, push-fit, threaded, or another compatible design. Small details count. A slightly incorrect measurement can cause a poor seal, even when the parts appear to fit.
Next, review the manufacturer’s specifications for pressure and temperature limits. For drinking-water lines, confirm that the product is explicitly rated for potable water. Also consider the location: a tight space, vibration, or frequent maintenance may affect which connection style is practical. Follow the product instructions, use compatible tools, and inspect the joint for leaks after installation. Keep the line accessible when possible. That makes later checks easier.
There is no universal coupler for every repair. Even careful measurements can be off, and older pipes may have wear that is not obvious at first glance. Pause and verify the materials before buying. When the system details remain unclear, consult a qualified plumbing professional rather than relying on appearance alone. A few minutes of checking can prevent a slow leak and avoid replacing the wrong fitting.
Identify Your Water Line Type, Size, and Operating Conditions
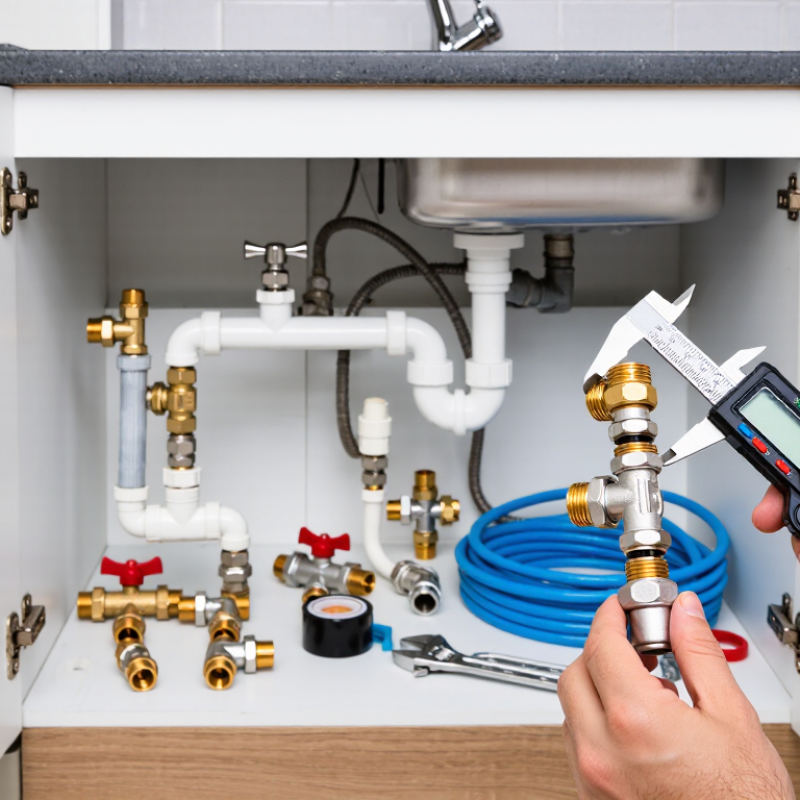
A reliable water line coupler starts with identifying the pipe, not guessing from its appearance. Check whether the line is copper, PEX, CPVC, or another material, since couplers are not universally interchangeable. Look for printed markings or consult the pipe documentation. Measure the outside diameter when the fitting calls for it; nominal pipe size and measured diameter are not always the same. A small mismatch can cause a slow leak that appears only under pressure.
Operating conditions matter just as much. Note the system’s working pressure, water temperature, and whether the line carries drinking water. Choose a coupler rated for the pipe material and those conditions, and confirm its specifications before installation. If the line is old or corroded, a measurement may be less reliable than it seems. That uncertainty is worth checking, not ignoring. Shut off the supply, make a clean cut, and inspect the joint for leaks after restoring water.
Tips: Take a clear photo of pipe markings and bring your measurements when selecting a fitting. Check whether the coupler requires a specific tool or insertion depth. Keep the pipe ends dry and free of burrs. Test the connection slowly, then inspect it again after several minutes. No guesswork here.
Compare Coupler Designs and Connection Methods
Choosing a water line coupler starts with the pipe, not the fitting’s appearance. Measure the outside diameter and identify the pipe material. A coupler that looks close may still leak or restrict flow. Check the water pressure and temperature rating, too, especially for hot-water lines.
Threaded couplers make a firm, serviceable connection when the pipe and fitting have matching thread types and sizes. Compression couplers use a nut and ferrule to grip the pipe; they can suit accessible repairs, but careful tightening matters. Too loose, and water may seep out. Too tight, and parts can deform. Push-fit designs connect quickly and are useful in cramped spaces, provided the pipe end is clean, round, and inserted fully. Barbed couplers are typically used with flexible tubing and a correctly sized clamp. They are not a universal substitute for rigid-pipe fittings.
Connection method matters as much as design. For example, a threaded metal fitting and a plastic pipe may need a compatible transition fitting rather than direct joining. Look for couplers rated for the intended water use, and follow the maker’s installation instructions. Keep the joint visible during testing, then check it with a dry tissue around the connection. Small drips show up fast. It is tempting to choose the easiest fitting, but access for future inspection can be easy to overlook.
Choosing a coupler: Match the fitting to the pipe material, nominal size, and connection method. Copper couplers may use solder, compression, or push-fit connections; PEX couplers commonly use crimp, clamp, or expansion connections. Compatibility varies by fitting, so check the product specifications before installation.
Both copper and PEX shown here use Copper Tube Size (CTS) dimensions. Outside diameters are typical standard dimensions; verify the pipe marking and fitting requirements.
Match Coupler Materials to Water Quality and Environment
Choose a water line coupler by checking the water it will contact, not just the pipe size. Hard water can leave mineral scale, while acidic water may speed corrosion in some metals. Chloride-rich supplies and coastal air can challenge stainless steel, depending on its grade and exposure. Disinfectants, water temperature, and pressure matter too. A material that works indoors may age faster in sunlight or repeated heat. Check every wetted component, including seals.
Tips: Compare the coupler’s material with a recent water-quality report. Check its pressure and temperature ratings, and confirm it fits both pipe materials. For drinking-water lines, verify that the product is rated for that use.
Look at the actual installation conditions. A damp utility closet, outdoor pipe run, or area exposed to cleaning chemicals can change material performance. Plastic couplers resist many corrosion problems, but heat and pressure limits vary by type. Metal couplers may suit demanding conditions, yet the alloy still needs to match the water chemistry. A green deposit or rusty mark near a joint is a reason to inspect further, not a diagnosis by itself. When water chemistry is uncertain, ask a qualified plumbing professional to assess the system before choosing a replacement.
Check Pressure Ratings, Standards, and System Compatibility
A water line coupler must handle the system’s actual pressure, not just its usual reading. Check the maximum working pressure and temperature on the product’s technical sheet. Then compare them with the system’s documented limits, including pump cycling and possible pressure surges. A rating that barely matches normal operation may leave little margin. Do not guess. The pressure printed on a part can be easy to overlook, especially in a crowded cabinet.
Compatibility matters just as much. Match the coupler’s material, size, and joining method to the pipe, water conditions, and installation environment. For potable-water use, check whether relevant components meet NSF/ANSI/CAN 61 for health effects and NSF/ANSI/CAN 372 for lead content; requirements vary by application and location. For flexible water connectors, confirm whether ASME A112.18.6/CSA B125.6 applies. The U.S. EPA’s 2023 Drinking Water Infrastructure Needs Survey and Assessment estimates $625 billion in drinking-water infrastructure needs over 20 years. That is a systemwide estimate, not a coupler performance test. Still, it underlines why small connection details deserve careful checking. A mismatch may not leak immediately. Review the specification, and verify the connection after installation.
Select and Verify the Coupler for Safe Installation
How to Choose the Right Water Line Coupler for Your Needs
Select and Verify the Coupler for Safe Installation
A safe connection starts with matching the coupler to the pipe, not just its apparent diameter. Check the pipe material, outside diameter, and connection style, such as threaded, compression, or push-fit. A fitting that looks close may still leak. Also confirm its pressure and temperature ratings suit the water line. For drinking-water systems, verify that the coupler is approved for that use in your area.
Before installation, shut off the supply and relieve pressure. Compare the fitting’s instructions with the pipe and inspect the sealing surfaces. Look for cracks, dirt, damaged threads, or a flattened seal. Cut the pipe square, remove burrs, and keep the mating surfaces clean. Small details matter. I would not force a coupler that resists fitting; that can damage the seal or distort the pipe. Use sealant only where the fitting instructions call for it.
Seat the pipe to the specified depth and tighten the connection as directed. Avoid guessing at torque. Restore water slowly, then check the joint with a dry tissue; even a tiny bead can reveal a leak. Recheck after the line has held pressure for several minutes. It is easy to skip that second look when the connection appears dry, but hidden seepage can show up later. If the pipe type or fitting instructions are unclear, pause and ask a qualified plumbing professional before closing the wall or cabinet.