
Why Is My Valve Connector Leaking?

A leaking Valve Connector can look like a minor nuisance, yet a small bead of fluid may signal a deeper assembly problem. The drip might come from damaged threads, incorrect torque, tubing misalignment, vibration, or a seal that has hardened inside the fitting. Sometimes, the connector is blamed too quickly. The real fault may sit upstream.

The U.S. Department of Energy reports that compressed-air systems commonly lose 20–30% of compressor output through leaks. That figure highlights the hidden cost of poor connections, especially in pneumatic equipment. Grand View Research also identifies valves and related flow-control components as a growing global industrial market, where reliability remains a major purchasing concern. These reports do not diagnose your connector, but they show why leak prevention deserves attention.

Dr. Mohinder L. Nayyar, author of Piping Handbook, offers a practical engineering reminder: “A leak rarely begins where it appears.” His observation encourages technicians to inspect the complete connection, not only the wet point. Check the tube end, ferrule position, thread condition, support, pressure rating, and installation history. Look closely.

API 570 inspection principles also emphasize systematic examination, documentation, and timely corrective action for piping components. Still, one assumption deserves reconsideration: tightening the nut is not always the solution. Excessive force can distort sealing surfaces and worsen leakage. A clean tissue, suitable lighting, and a controlled pressure test often reveal more than guesswork. This guide explains common causes, safe inspection steps, and practical repair decisions for a leaking Valve Connector.
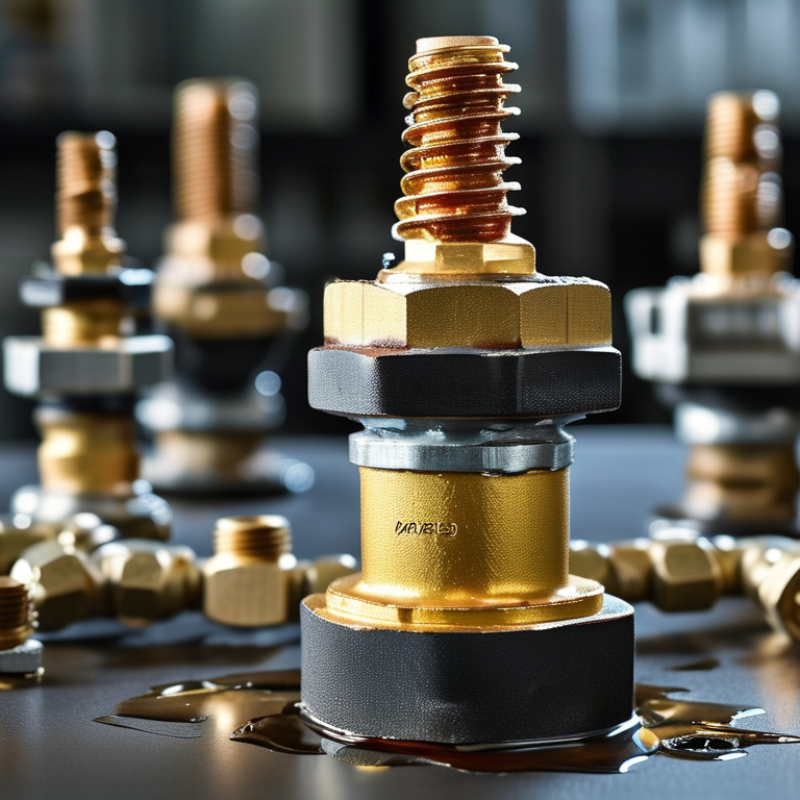
Why Is My Valve Connector Leaking?

What a Valve Connector Does and Why It May Start Leaking

Why Is My Valve Connector Leaking?

A valve connector joins a valve to a pipe, hose, or equipment inlet. It controls flow while maintaining a sealed path under pressure. Common designs include threaded, compression, flared, and flexible connections. Each relies on correct alignment and sealing pressure.

A leak usually begins with a damaged gasket, loose thread, cross-threading, or pipe movement. Vibration can slowly weaken the joint. Thermal expansion may also open a small gap between metal parts. In practical inspections, moisture often appears below the connector, not at the actual failure point. That misleads many repairs. A quick retightening feels convincing. It may worsen the damage.

The U.S. Environmental Protection Agency’s WaterSense program reports that household leaks can waste nearly 10,000 gallons of water annually. It also estimates that 10% of homes have leaks wasting at least 90 gallons daily. These figures show why a small connector deserves attention. ISO 5208 provides standardized valve pressure-testing and leakage classifications, but field conditions still matter. Testing results cannot fully predict poor installation, corrosion, or pipe stress.

Start by shutting off the supply and drying the joint completely. Then observe the first point where moisture returns. Do not force a stubborn fitting. Over-tightening can crush a washer or split a plastic connector. Replace visibly damaged seals, and check whether the pipe is pulling sideways. I would not assume the connector is the only problem. A leaking valve body, hidden crack, or excessive system pressure may require professional testing.

Common Causes of Valve Connector Leaks

Why Is My Valve Connector Leaking?

Common Causes of Valve Connector Leaks

A leaking valve connector often starts with a small wet ring, a faint hiss, or pressure loss. The connector may be loose, cross-threaded, or fitted at an awkward angle. Overtightening can also deform a gasket or crack a softer sealing surface. In field inspections, I have found dirt on threads causing more trouble than visible damage. It is easy to blame the valve too quickly.

Seal failure is another common cause. Rubber seals harden from heat, chemicals, age, or repeated movement. A connector exposed to vibration may loosen gradually, even when installation seemed correct. According to the U.S. Environmental Protection Agency’s WaterSense program, household leaks can waste nearly 10,000 gallons of water annually. That figure shows how a minor connection problem can become expensive. Still, the actual loss depends on pressure, operating hours, and fluid type.

Compressed-air systems deserve special attention. The U.S. Department of Energy reports that leaks can waste 20% to 30% of compressed-air output in poorly maintained systems. A connector may leak because its threads do not match, its sealant was applied incorrectly, or its tubing was cut unevenly. Check the joint when the system is pressurized, using approved leak-detection methods. Never rely only on touch. A quiet hiss can hide a serious loss. I sometimes see technicians replace the connector first, then discover damaged pipe threads behind it. That extra step is worth questioning.

Why Is My Valve Connector Leaking? - Common Causes of Valve Connector Leaks
Common Cause Typical Leak Location Observable Signs How to Check Recommended Corrective Action Potential Risk Level
Loose threaded connection At the valve-to-connector or connector-to-pipe joint Moisture or droplets appear around the threads, especially when the system is pressurized. Shut off the supply, depressurize the system, and inspect whether the joint has visible movement or insufficient tightening. Disconnect and inspect the threads. Reassemble to the applicable manufacturer or installation torque. Avoid overtightening, which can crack fittings or damage threads. Medium
Damaged or worn sealing washer At a flat-face union, hose connection, or connector end Leakage continues even though the connection appears tight; the washer may look flattened, cracked, hardened, or deformed. Remove the connection after isolation and examine the washer for cuts, compression marks, brittleness, or incorrect size. Replace the washer with the correct material, dimensions, and pressure-temperature rating. Clean both mating surfaces before reassembly. High
Incorrect thread type or size At a threaded valve connector The joint feels tight only after a few turns, cross-threading is visible, or the fitting leaks along the thread path. Compare the thread profile, nominal size, and connection standard. Do not force components that do not engage smoothly by hand. Replace the mismatched component with a connector having the correct thread type and size. Do not use sealant to compensate for incompatible threads. High
Improper thread sealant application Along tapered threaded joints Sealant is missing, unevenly applied, contaminated, or pushed into the flow passage; leakage may occur shortly after installation. Inspect the exposed threads after depressurizing. Check whether the sealant is approved for the fluid, pressure, temperature, and connection material. Remove old sealant, clean the threads, and apply a compatible sealant according to its instructions. Keep sealant away from the first thread and internal passages. Medium
Damaged, corroded, or contaminated sealing surfaces At the valve face, flare, compression seat, or connector shoulder Rust, scratches, pitting, dirt, or scale is visible on the mating surfaces; the leak may remain after tightening. Disassemble and inspect the sealing faces under good lighting. Look for radial scratches, corrosion pits, embedded particles, or burrs. Clean minor contamination using a suitable method. Replace parts with deep scratches, pitting, distorted seats, or damaged sealing faces. High
Misalignment or excessive side load At the connector joint or valve body connection The pipe or hose pulls sideways on the valve; leakage changes when the line is moved or supported. Check whether the connector is being used to correct pipe misalignment or carry the weight of unsupported piping. Realign the piping, add suitable supports, and remove external loads from the valve and connector before retightening or replacing damaged parts. High
Excessive vibration or thermal cycling At threaded, compression, or flexible connector joints The leak develops gradually; fittings may loosen after repeated equipment starts, stops, heating, or cooling cycles. Look for vibration, pulsation, temperature changes, loosened fasteners, and movement marks around the connection. Reduce vibration where possible, provide proper supports, use a suitable flexible connector, and inspect or replace fatigued sealing components. Medium
Overtightening or installation damage At threads, ferrules, plastic connectors, or valve bodies Cracks, split threads, crushed washers, distorted ferrules, or a leak that worsens after tightening are present. Inspect the connector and valve body for deformation or hairline cracks. Compare the installation method with the specified tightening procedure. Replace cracked or deformed components. Reinstall using the correct hand-tightening and torque procedure for the connection type. High
Pressure or temperature beyond the connector rating At any connector seal or joint Leakage occurs mainly during pressure spikes, high temperatures, freezing conditions, or process changes. Compare actual operating pressure and temperature with the ratings of the valve, connector, seal, and tubing. Use components rated for the actual service conditions. Install pressure regulation or thermal protection when required by the system design. High
Chemical incompatibility or seal degradation At elastomeric seals, hoses, and plastic connector components The seal is swollen, softened, brittle, cracked, discolored, or unusually hard; leakage increases over time. Identify the fluid and review the compatibility of the seal and connector materials with the fluid, concentration, and temperature. Replace degraded parts with materials compatible with the service fluid. Correct any excessive temperature or chemical exposure. High
Connector or hose end not fully inserted At push-fit, compression, or quick-connect fittings The tubing is not seated to the required depth, the locking mechanism is incomplete, or the tube can be pulled out by hand. Isolate the line and verify insertion depth, tube condition, ferrule position, and locking engagement. Cut tubing squarely if required, remove damaged sections, fully insert the tube, and reinstall the retaining component according to the fitting design. Medium
Valve body or connector material failure Through a crack, casting defect, or split in the body Fluid emerges from the body itself rather than the joint; the leak may persist after the connector is replaced. Dry the area and observe the source under safe, depressurized conditions. Use an approved leak-detection method if appropriate. Remove the valve or connector from service and replace it. Do not attempt to repair pressure-containing cracks with sealant. High

Safety note: Before inspecting or repairing a leaking valve connector, isolate the energy source, depressurize and drain the system when applicable, and use protective equipment appropriate for the fluid and operating conditions.

How to Identify the Exact Source of the Leak

A leaking valve connector does not always fail at the connector itself. Water can travel along threads, tubing, or the valve body before dripping. Dry the entire area with a clean cloth. Then open the valve slowly and watch the first wet spot appear. A flashlight helps reveal a thin, bright line of water.

Check the connector from several angles. Look for moisture around the threads, washer, compression ring, and hose entrance. Place a dry tissue under each joint. The first dark mark usually identifies the active leak. If the tissue stays dry, inspect the valve stem and nearby pipe. A loose connection may leak only under pressure. Do not tighten everything immediately. That can hide the real source or damage a seal.

Tips: Use a small mirror for hidden joints. Mark the first wet point with removable tape. Check again after five minutes. If water appears from the valve body, stop adjusting the connector. The internal part may be damaged and require replacement by a qualified professional. I have found that rushed inspections often blame the lowest drip, not the highest leak. One detail can change the diagnosis. Before removing any part, shut off the supply and release pressure safely. Some leaks become visible only after the system cools, so a second inspection may be necessary.

Step-by-Step Ways to Repair or Replace the Connector

Why Is My Valve Connector Leaking?

A leaking valve connector usually points to a damaged seal, loose thread, or misaligned pipe. Start by shutting off the supply and releasing trapped pressure.

Never tighten a pressurized connector.

Wipe the joint completely dry, then inspect it with a flashlight. Look for cracked threads, flattened O-rings, corrosion, or a fine spray near the fitting. A soap solution can reveal tiny bubbles. It is simple, but surprisingly effective.

If the connector only feels loose, use the correct wrench and tighten it gradually. Do not force it. Excessive torque can distort the sealing surface. Replace a worn O-ring with the specified material and size. For threaded joints, clean both threads and apply a compatible sealant sparingly. Avoid covering the first thread. Repressurize slowly and check for bubbles again.

The U.S. Department of Energy reports that compressed-air leaks can waste 20–30% of compressor output, making small failures financially important.

Replace the connector when threads are stripped, fittings are cracked, or leakage returns after proper tightening. Match the connector’s size, pressure rating, temperature range, and connection type. Record the old part before removal. That small step prevents many installation mistakes.

ISO 14224 emphasizes consistent equipment-failure data for reliable maintenance decisions.

I would also photograph the joint before repair. Memory is less dependable than evidence. If the leak continues, stop testing and ask a qualified technician to inspect the valve, pipe alignment, and system pressure.

How to Prevent Future Valve Connector Leaks

Why Is My Valve Connector Leaking?
How to Prevent Future Valve Connector Leaks

A leaking valve connector rarely fixes itself. During field inspections, I often find a loose thread, damaged seal, or side-loaded pipe. Shut off the supply before touching the joint. Dry the connection completely. Then watch for the first bead of water. This location matters.

Use the correct seal for the fluid, temperature, and connector material. A hardened washer may look acceptable but fail under pressure. Replace it instead of adding extra tape. Keep sealing tape away from the first thread. Excess material can enter the valve and obstruct movement. Tighten the connector by hand, then use a wrench carefully. Over-tightening can crack a fitting or distort its seal.

Support nearby piping so the connector carries no bending force. After installation, restore pressure slowly and inspect with a dry tissue. Tissue shows small leaks better than a quick glance. Check again after several hours and during the next maintenance visit. A pressure gauge can reveal slow pressure loss. I once treated repeated tightening as the solution. It only hid the real alignment problem. That mistake changed my checklist. I now inspect pipe support before touching the connector. If the joint still leaks, replace suspect parts and ask a qualified technician to assess the system. Some leaks need more than a tighter wrench.

Why Is My Valve Connector Leaking?

Common causes of valve connector leaks and practical ways to prevent them during installation and maintenance.

Improper tightening, damaged sealing surfaces, contamination, and misalignment are frequent contributors to connector leakage. Use the correct tightening procedure, inspect threads and seals before assembly, keep sealing surfaces clean, and perform a pressure test after installation.

Our dedicated sales and support staff are here to help you identify the ideal pump solution for your needs.

Contact Us